Dialing in Nordic Style Coffee at Home
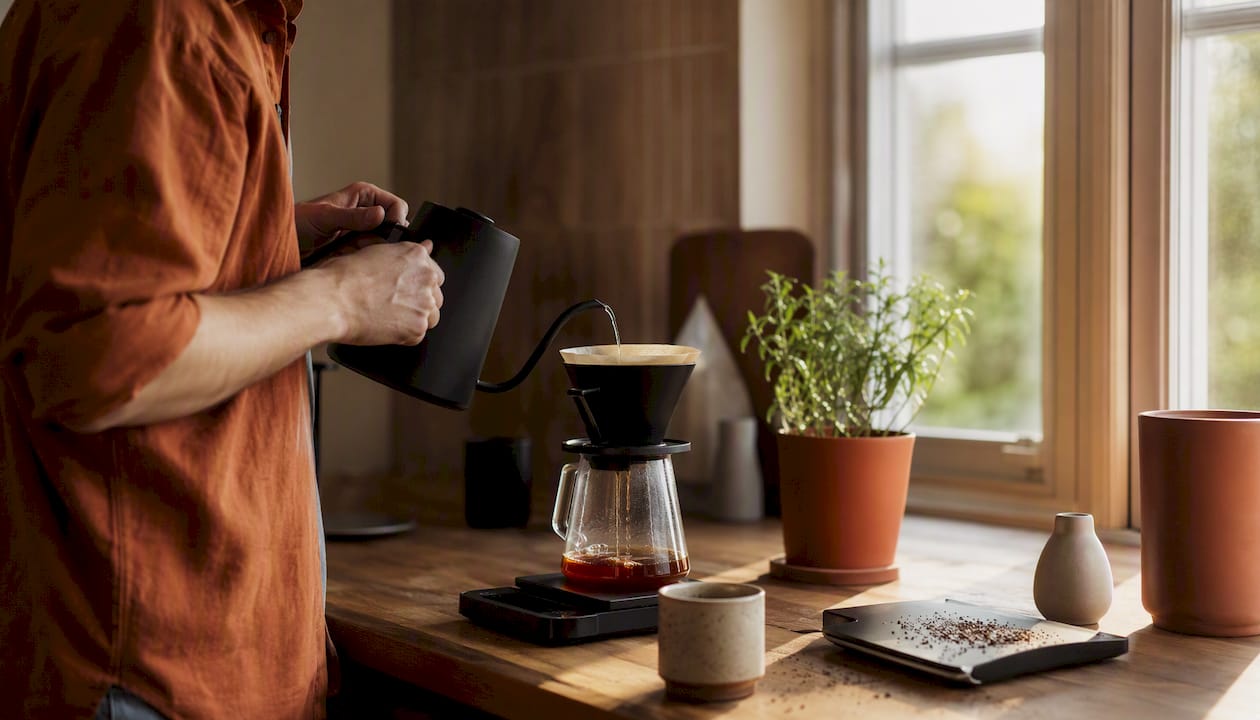
Nordic-style coffee is ultra-light roasted to preserve the bean’s origin character rather than develop roast-driven flavors. The goal is a cup that tastes like the farm, not the roaster. Dialing it in at home means learning to extract sweetness and clarity from a dense, lightly developed bean — and that requires a different approach than most home brewers expect.
TL;DR starting recipe (V60, 1–2 cups):
- Dose: 16 g coffee
- Water: 250 g at 98°C (208°F)
- Ratio: 1:15.6
- Grind: Finer than your usual filter setting
- Bloom: 40 g water for 30 seconds, then a steady controlled pour to 250 g
- Target brew time: 2:30 total
Three-item checklist to start:
- Set your grinder finer than you think you need for filter coffee
- Use water as close to boiling as possible (98°C / 208°F)
- Change only grind size between brews until the cup tastes sweet and bright, not sharp or hollow
The flavor you’re chasing: clean stone fruit or citrus, a tea-like transparency, and a sweetness that lingers rather than a sharp acidic bite.
Table of Contents
- What “Nordic style” actually means for your cup
- Practical roast targets for Nordic-style home roasting
- Why light roasts need different brewing choices
- A step-by-step dialing-in protocol for Nordic-style coffees
- Home roasting tips specific to Nordic-style light profiles
- Quick fixes when your Nordic-style cup tastes off
- Key Takeaways
- What dialing Nordic-style coffee actually taught me
- Fresh Nordic-style beans, ready to dial in
- Useful sources
- FAQ
What “Nordic style” actually means for your cup
Nordic-style roasting is a philosophy before it’s a technique. Scandinavian specialty cafés, particularly those that emerged from Oslo and Copenhagen’s third-wave scene in the early 2000s, pushed back against the dark, bitter espresso tradition by roasting beans as lightly as possible without leaving them underdeveloped. The goal was to let the bean’s origin speak — its altitude, soil, and processing — rather than overlay it with caramelization and smoke.
Nordic roasting intentionally preserves the origin “voice” over roast-driven flavor. That means a well-executed Nordic roast from an Ethiopian Yirgacheffe should taste like the Yirgacheffe, not like “coffee.” You’ll find floral jasmine, bergamot, stone fruit, and a delicate sweetness that reads almost like black tea. Ethiopian single-origin beans are among the most common choices for this style precisely because their natural complexity rewards the transparency a light roast delivers.
The catch: under-extraction is the most common mistake with Nordic-style beans, and it’s easy to misread. A sour, sharp cup can feel like “pleasant brightness” to someone used to darker roasts. It isn’t. True Nordic-style clarity has sweetness underneath the acidity, not just a sharp edge. That distinction is what dialing in is actually about.
Typical sensory profile to expect from a well-extracted Nordic-style cup:
- Floral notes (jasmine, rose, bergamot)
- Citrus and stone fruit (lemon, apricot, peach)
- Tea-like transparency and clean finish
- Mild, integrated sweetness rather than heavy body
- Low roast bitterness
Practical roast targets for Nordic-style home roasting
Getting the roast right is the foundation. Brew a poorly developed bean and no amount of grind adjustment will save the cup.
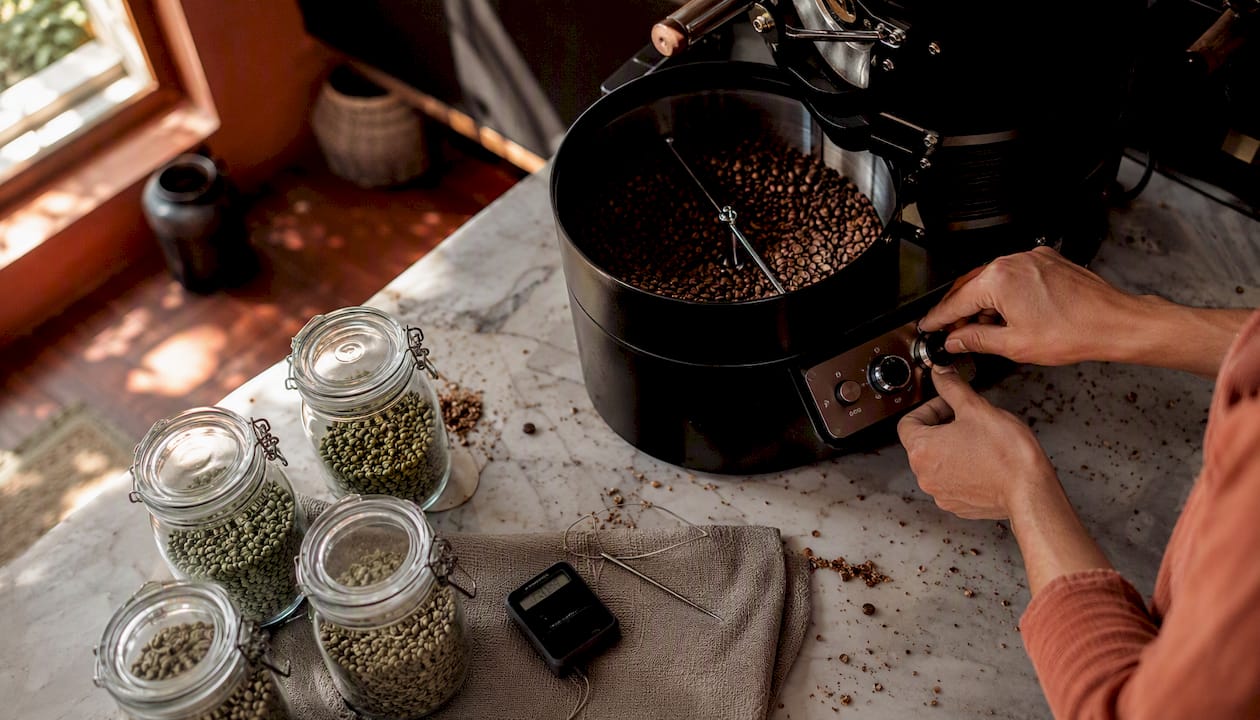
What to measure and why it matters:
The key metric in Nordic-style roasting is development time ratio (DTR): the percentage of total roast time that occurs after first crack. For ultra-light Nordic profiles, most experienced home roasters aim for a DTR in the range of 20–25%. Drop the bean too early and you get a grassy, vegetal cup. Push past 25% and you start losing the delicate origin notes that make the style worth pursuing.
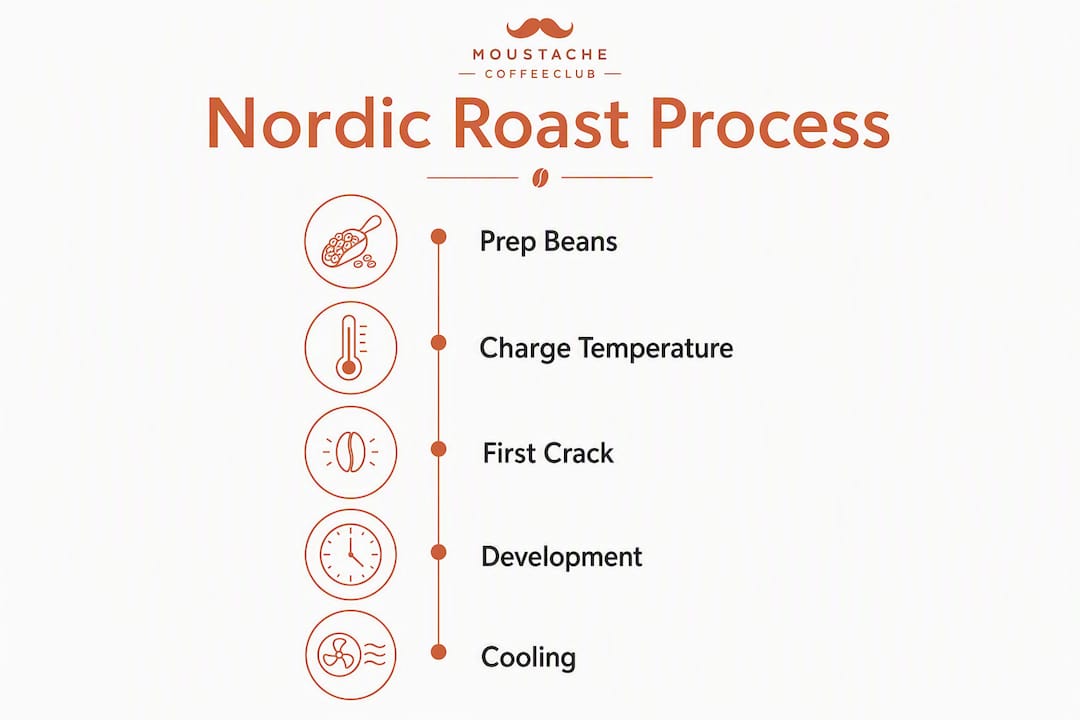
Roast checkpoint sequence:
- Preheat your roaster to your target charge temperature. For most drum-style home roasters, this is in the 350–380°F (177–193°C) range. Fluid-bed roasters run hotter at charge.
- Charge the beans and monitor the rate of rise (ROR). You want a smooth, declining ROR curve — not a flat one, not a sharp spike.
- First crack typically arrives between 8–11 minutes depending on batch size and roaster. Note the exact time.
- Develop for 60–90 seconds after first crack for a Nordic-style profile. That window keeps DTR in the 20–25% range for most roast timelines.
- Drop and cool immediately. Cooling speed matters. Slow cooling continues development and can push a Nordic roast darker than intended.
Practical settings principles (general, not roaster-specific):
Reduce heat input slightly as you approach first crack to avoid a runaway ROR spike. Keep airflow high during development to carry off moisture and chaff without stalling the roast. A stalled roast at low temperatures produces baked, flat flavors that no brew recipe can fix.
Roast log fields to record every session:
| Field | What to note |
|---|---|
| Charge temperature | °F or °C at bean drop |
| Time to first crack | Minutes:seconds |
| Development time | Seconds after first crack |
| Drop temperature | °F or °C at end |
| DTR % | Development time ÷ total roast time × 100 |
| Notes | Appearance, smell, any anomalies |
Logging every roast lets you correlate roast decisions with brew outcomes. If a batch dials in easily and tastes great, you have a record to repeat it.
Why light roasts need different brewing choices
A Nordic-style bean is physically denser than a medium or dark roast. Less heat has been applied, so the cellular structure is tighter and the soluble compounds are harder to extract. That density changes everything about how you brew.

Ultra-light Nordic roasts are denser and typically require finer-than-expected grind settings to reach sweetness and avoid thin, sour cups. Most home brewers start too coarse for light roasts because they’re calibrating from muscle memory built on medium-roast beans. Treat your usual filter grind as a starting point, then go finer.
Temperature follows the same logic. Practitioners recommend higher brewing temperatures for very light roasts, often near 98°C (208°F), to drive extraction from the denser cellular structure. Brewing at 90°C (194°F) — fine for a medium roast — will leave a Nordic-style bean under-extracted and sour.
Core parameter windows for Nordic-style brewing:
- Water temperature: 96–98°C (205–208°F)
- Dose-to-water ratio: 1:14 to 1:16 (start at 1:15 or 1:15.6)
- Total brew time: 2:15–3:00 for pour-over methods
- Grind: Medium-fine to fine for filter; finer than standard for your brewer
Disciplined control of grind, ratio, temperature, and time matters more than the brewer you own. A V60 and a consistent burr grinder can replicate café-level clarity.
Method guide:
Pour-over methods like the V60 and Kalita Wave emphasize clarity, making them natural fits for Nordic-style beans. The AeroPress can be tuned for sweetness and adds a little body, which works well for coffees with more fruit-forward processing. Understanding how your brewing method affects the final cup is worth exploring before you commit to a single recipe. How your brewing method affects the final cup
Three starting recipes:
V60 (Tim Wendelboe-inspired Nordic recipe): 16 g coffee, 250 g water at 98°C, bloom with 40 g for 30 seconds, then pour steadily to 250 g, targeting 2:30 total. Grind medium-fine. This recipe prioritizes clarity and origin transparency.
Kalita Wave: 15 g coffee, 240 g water at 97°C. Bloom 30 g for 45 seconds. Pour in three even additions of 70 g each, 30 seconds apart. Target 3:00 total. The flat-bottom design slows flow slightly and adds a touch more body than the V60.
AeroPress (inverted, Nordic-style): 15 g coffee, 200 g water at 96°C. Grind slightly finer than V60. Steep for 1:30, press slowly over 30 seconds. The pressure and immersion combination extracts sweetness efficiently from dense light-roast beans.
| Method | Best for | Temperature | Ratio | Time |
|---|---|---|---|---|
| V60 | Maximum clarity | 98°C (208°F) | 1:15.6 | 2:30 |
| Kalita Wave | Clarity with body | 97°C (197°F) | 1:16 | 3:00 |
| AeroPress | Sweetness, fruit | 96°C (205°F) | — | 2:00 |
A step-by-step dialing-in protocol for Nordic-style coffees
The one-variable-at-a-time rule is the foundation of any dialing protocol. Lock dose, water volume, temperature, and pour structure; change only grind size to correct flavor imbalances. This keeps your experiments legible. Change two variables at once and you’ll never know which one moved the cup.
The Nordic Brew Lab recommends a “fixed recipe” approach: treat the recipe as a stable baseline while adjusting one variable. It shortens the path to consistency considerably.
Three-brew dialing sequence:
- Brew 1 (Baseline): Use the V60 recipe above exactly as written. Record every parameter. Taste and note: Is it sour and sharp? Thin and hollow? Bitter and drying? Write it down before you adjust anything.
- Brew 2 (Finer): Move your grinder one or two steps finer. Keep everything else identical. Taste again. If the cup is sweeter and more balanced, you were under-extracting. If it’s now bitter or astringent, you overshot.
- Brew 3 (Coarser, if needed): If Brew 2 went bitter, go back to baseline and try one step coarser instead. This is less common with Nordic-style beans but can happen if your starting grind was already fine.
Taste-to-action quick reference:
- Sour, sharp, thin: Grind finer. You’re under-extracting.
- Bitter, drying, astringent: Grind coarser. You’ve over-extracted.
- Thin but not sour: Increase dose by 1 g, or grind slightly finer. Strength and extraction are different problems — understanding the difference prevents chasing the wrong variable.
- Flat, no clarity: Check water temperature. If you’re below 96°C, raise it.
- Vegetal or green: This is a roast issue, not a brew issue. The beans need more development time.
Pro Tip: Before each brew after a grind adjustment, purge 3–5 g from the grinder chute to clear grounds from the previous setting. Skipping this step means your first brew after an adjustment contains a mix of two grind sizes, which makes the result impossible to evaluate accurately.
Blind A/B comparisons help too. Brew two cups back-to-back at slightly different grind settings, label them without looking, and taste both before deciding which direction to move. Your palate is less biased when you don’t know which cup is which.
Home roasting tips specific to Nordic-style light profiles
Getting consistent Nordic-style roasts at home requires a few things that darker roasting forgives but light roasting does not.
Essential equipment checklist:
- A roaster with real-time temperature feedback (drum or fluid-bed with a probe or display)
- A kitchen scale accurate to 0.1 g for weighing green and roasted beans
- A timer (your phone works)
- A colander or dedicated cooling tray with a fan for rapid cooling
- A notebook or spreadsheet for logging every roast
Cooling and degassing:
Cool beans as fast as possible after dropping. Slow cooling extends development and can push a Nordic profile into medium territory without you realizing it. Spread beans thin and use a fan if your roaster doesn’t have a built-in cooling cycle.
After roasting, rest the beans before brewing. Light roasts degas CO₂ more slowly than darker roasts because less gas was produced during development. A common guideline is to rest Nordic-style beans for at least 5–7 days after roasting before dialing in seriously. Brewing too soon produces inconsistent extraction because CO₂ interferes with water contact. After 7–10 days, the cup stabilizes and your grind adjustments will actually reflect what the bean is doing.
Airflow and chaff management:
High airflow during the roast carries chaff away from the bean and prevents it from scorching and adding smoky off-notes. For very light profiles, this matters more than it does for darker roasts where roast character masks small faults. Clean your roaster’s chaff collector between sessions.
Using your roast log to align roast and brew:
Once you have a few roast logs, you can start connecting roast decisions to brew outcomes. A batch with a DTR below 20% will likely need a finer grind and higher temperature to extract sweetness. A batch that hit 25% DTR might dial in more easily at a slightly coarser setting. The log turns guesswork into a feedback loop.
Pro Tip: Weigh your green beans before roasting and your roasted beans after cooling. The weight loss percentage (typically 12–18% for light roasts) gives you a rough indicator of roast development and helps you track consistency across sessions.
Quick fixes when your Nordic-style cup tastes off
| Fault | Likely cause | Immediate fix |
|---|---|---|
| Sour, sharp, thin | Under-extraction | Grind finer; raise water temp to 98°C |
| Thin, hollow, weak | Under-dosed or under-extracted | Add 1 g to dose; try finer grind |
| Bitter, drying | Over-extraction | Grind coarser; check brew time |
| Vegetal, green, grassy | Under-developed roast | Re-roast with longer development; not fixable by brewing |
| Flat, no clarity | Water too cool or too coarse | Raise temperature; grind finer |
| Smoky, ashy | Chaff scorching or over-roast | Clean roaster; check DTR |
Fast checks before changing your roast:
- Confirm water temperature with a thermometer, not just a kettle setting
- Purge 3–5 g from the grinder before your next brew after any adjustment
- Verify dose on a scale — eyeballing 16 g is harder than it sounds
- Check bean age: if it’s been more than 4 weeks since roast, freshness may be the issue
Distinguishing a salvageable bitter cup from a roast fault:
Extraction bitterness is dry and coating but fades quickly. It responds to a coarser grind. Roast-fault bitterness (from scorching, baked development, or excessive heat) is chemical and lingers — sometimes with a rubbery or acrid edge. If coarsening the grind and dropping temperature don’t improve bitterness at all, the roast is the problem, not the brew.
Key Takeaways
Dialing in Nordic-style coffee at home requires hotter water, a finer grind than expected, and the discipline to change only one variable at a time until the cup tastes sweet and transparent.
| Point | Details |
|---|---|
| Use near-boiling water | Brew coffee at high temperatures close to boiling to extract sweetness from dense light-roast beans. |
| Grind finer than usual | Nordic-style beans are denser and benefit from a finer grind than typical filter coffee. |
| Change only grind first | Lock all other variables and adjust grind size one step at a time to isolate flavor changes. |
| Rest beans several days post-roast | Allow CO₂ from fresh light roasts to dissipate before dialing in grind and brew for consistency. |
| Moustachecoffeeclub subscription | Freshly roasted Nordic-style single-origin beans shipped day-of-roast, with brewing guides included. |
What dialing Nordic-style coffee actually taught me
The conventional wisdom in home coffee circles is that better gear solves most problems. Buy a better grinder, get a gooseneck kettle, upgrade the brewer. And while a consistent burr grinder genuinely matters for Nordic-style coffees, the gear conversation misses the real difficulty: these beans are unforgiving of lazy tasting.
With a medium roast, a slightly sour cup reads as “a bit off.” With a Nordic-style light roast, that same sour cup can feel like brightness, like the coffee is doing what it’s supposed to do. It takes a few dozen brews before you learn to distinguish under-extraction from origin acidity. The sweetness underneath the fruit notes is the tell. If it’s not there, you’re not done dialing.
The other thing most guides understate is the roast-to-brew feedback loop. Brewing and roasting aren’t separate disciplines when you’re working with ultra-light profiles. A batch with a DTR of 18% will behave completely differently at the grinder than one at 24%, even if the beans look nearly identical. Home roasters who keep detailed logs and connect roast data to brew outcomes get to consistency faster than those who treat each session as a fresh start.
The one-variable-at-a-time protocol isn’t just a beginner’s tool, either. Experienced home baristas still use it when they switch to a new single origin, because every bean is different. A Colombian washed coffee and an Ethiopian natural at the same roast level can require grind settings several steps apart. The protocol keeps you from chasing your tail.
Fresh Nordic-style beans, ready to dial in
If you’d rather skip the green-bean sourcing and roasting curve and go straight to the dialing-in part, Moustachecoffeeclub ships ultra-light, Nordic-style single-origin beans roasted to order on the day they ship. Every bag arrives at peak freshness, with a brewing guide matched to that specific coffee’s origin and roast profile.

Practical benefits for home brewers dialing in Nordic-style coffees:
- Origin-specific brewing guides — with starting recipes for V60, Kalita Wave, and AeroPress
Whether you’re dialing in your first light roast or refining a recipe you’ve been working on for months, having consistently roasted beans as your baseline makes every experiment more useful. Start your subscription and get your first bag of freshly roasted Nordic-style coffee delivered to your door, or visit the coffee education hub for additional brewing guides and origin reports.
Useful sources
These are the references worth bookmarking for deeper technical study on Nordic-style brewing and dialing in light roasts:
- Nordic Light — V60 Recipe by Tim Wendelboe via Gota: The source recipe for the Nordic V60 method covered in this article. Wendelboe’s approach to temperature, grind, and pour structure is the clearest published example of Nordic-style dialing in practice.
- Why You Need a Brew Recipe — Nordic Brew Lab: Explains the logic behind fixed-recipe brewing and why structured recipes produce more consistent results than intuitive adjustments. The same recipe framework Nordic Brew Lab uses in its own cafés.
- Getting Started with Coffee at Home — Nordic Brew Lab: Covers temperature recommendations and the fixed-recipe learning approach for beginners working with specialty beans.
- Brewing at Home: The Elements of a Brew Recipe — Blueprint Coffee: A clear breakdown of dose, grind, yield, and time as the four core variables. Useful for understanding the difference between extraction and strength before you start dialing.
- How to Make the Perfect Cup of Coffee at Home — USA Today 10Best: Includes practical guidance on water quality from Heather Perry, CEO of Klatch Coffee and former Specialty Coffee Association president. A good reminder that water chemistry affects Nordic-style cups as much as grind or temperature.
- How to Dial In Coffee at Home — CoffeeGearHub: Practical walkthrough of the one-variable-at-a-time protocol with clear explanations of what each variable controls.
FAQ
What is Nordic-style coffee?
Nordic-style coffee is ultra-light roasted to preserve the bean’s natural origin flavors rather than develop roast-driven caramelization or bitterness. The result is a bright, fruit-forward, tea-like cup where the terroir of the bean is the main event.
What water temperature should you use for Nordic-style light roasts?
Brew at 96–98°C (205–208°F). Light roasts are denser than darker roasts, and near-boiling water is needed to extract sweetness from the tighter cellular structure without leaving the cup sour and thin.
Why does my Nordic-style coffee taste sour?
Sourness in a light roast almost always means under-extraction. Grind finer, raise your water temperature to 98°C (208°F), and confirm your dose is accurate on a scale. If the cup still tastes vegetal or grassy rather than bright, the roast itself may need more development time.
What is the best brewing method for Nordic-style coffee?
The V60 is the most common choice because its open design maximizes clarity and lets origin notes come through cleanly. The Kalita Wave adds a touch more body, and the AeroPress works well for fruit-forward naturals where sweetness is the priority.
How long should you rest Nordic-style beans before brewing?
Rest light-roasted beans for at least 5–7 days after roasting before dialing in seriously. CO₂ off-gassing from fresh light roasts interferes with water contact and produces inconsistent extraction; the cup stabilizes noticeably after that rest window.
Recommended
- How to Dial In Light Roast Coffee for Home Baristas | Blog | The Moustache Coffee Club
- Personalizing Coffee Subscription Preferences: Your Guide | Blog | The Moustache Coffee Club
- How Brewing Method Affects Specialty Coffee Flavor | Blog | The Moustache Coffee Club
- How To Brew Pour Over Coffee | Step-by-Step Guide | Moustache Coffee Club